Managing your photo library: pruning old growth

At the end of October, 2019, my photo library contained approximately 60,000 images, mostly taken over the past 20 years. (Of those, nearly 40% are from the past five years.) Comparing the size of my library with those of friends of mine, I’m about average, but still, 60,000 is a big number, and managing that many photos can be a bit intimidating. I once topped out at 80,000 photos, but about six years ago I came up with an exercise — pruning a single year’s worth of photos — that has helped me get my library better organized and more efficient. As a photo-management tool, I felt it was worth sharing here.

The editing conundrum

I tend to do the majority of my editing — culling, sorting and post-processing — on my most recent photos. For example, out of a shoot where I end up with 600-800 images, I’ll quickly get that to upwards of 50 selects, and I will then spend most of my time working on those photos. The rest soon get lost into the archives. It’s not that they’re unimportant, but they aren’t compelling to me at the moment, and as such, they end up disappearing. As time goes on, and I take more photos, it becomes harder to find key photos from the past (at least those non-portfolio photos), or to even know what I might have hidden that is of some value.

Read more

Matt K on advanced brush settings in Lightroom & Camera Raw

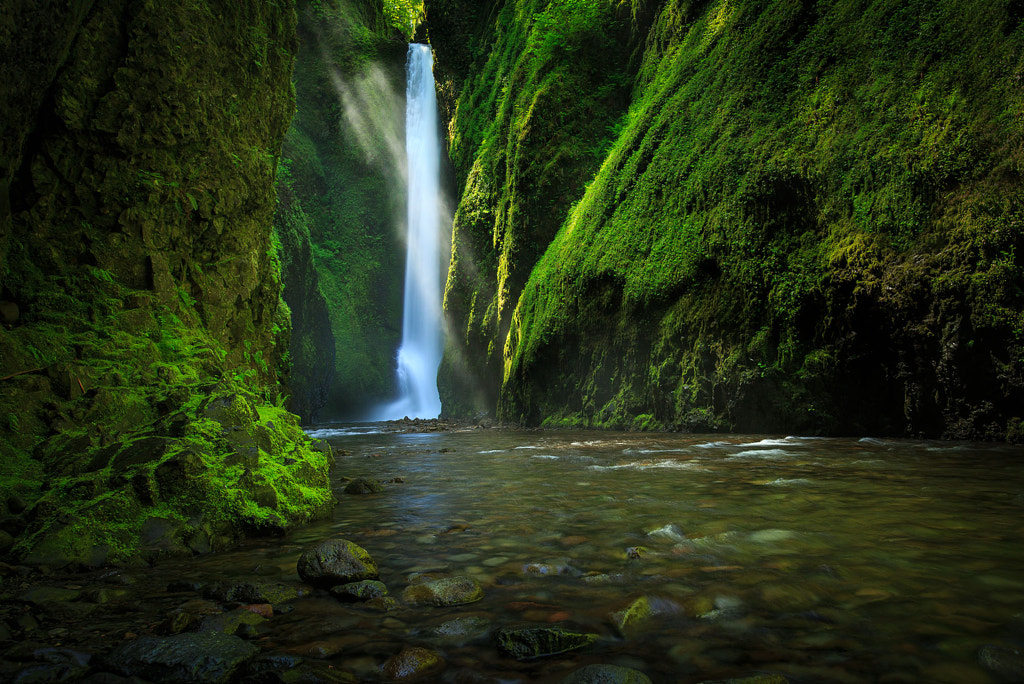
Oneonta Falls, ©Matt Kloskowski (via 500px)

If you’re using adjustment brushes inside Lightroom (Classic or CC) or Adobe Camera Raw, check out Matt Kloskowski’s latest video tutorial, Advanced Brush Settings in Lightroom and Photoshop, which talks about how to use the Flow and Density settings to get better targeted adjustments during your editing sessions. Matt’s explanation of why you want to play with those (rarely discussed) settings is spot-on, and he even includes a sample file for you to follow along with his edits.

Matt is one of the best post-processing and photography instructors out there—as well as an excellent photographer, workshop leader and all-around good guy—and he’s worth following, especially if you’re inside the Adobe ecosystem. He regularly posts great short videos on his site and his Facebook page, and his Photoshop System and Lightroom System courses are the best comprehensive video courses in the market.

First Look at Photoshop Elements 2018

I’ve always believed that Photoshop Elements is the best-kept secret that Adobe has hiding in their arsenal. If you haven’t played around with it, I think you’ll be shocked by its features: it boasts everything from advanced selections with the Refine Edge feature to simplified Guided Edits that keep your processing streamlined. Every time I chat with another photographer about software, they never can believe how much DNA Photoshop and Photoshop Elements share.

Every year, when Adobe introduces their new version of Elements, they always toss in a few fun, fresh features to keep PSE-loyalists happy. This year, I can’t believe how excited I am about two of their new Guided Edit styles: the Double Exposure creator and the Background Changer. These two photo editing methods are incredibly popular, but also tedious and can drive people crazy with making hand-drawn selections. Luckily, thanks to some quick steps, the process just got a whole lot easier!

Read more

Old Reliable: The annual Photoshop Elements update

True to its annual, autumnal form, Adobe today announced Photoshop Elements 2018, the latest version of the company’s image editing and organizational software for photographers, hobbyists, and, in Adobe’s parlance, “memory keepers.” As is the case with most of the yearly Elements updates, the new version doesn’t offer a ton of new features, but mostly adds new components to the Organizer and the Guided Edit modes in the product. (It also benefits from enhancements to the Photoshop engine found at the core of Elements.) Here are a few of the highlights in Elements 2018:

  • The Organizer adds a few new features designed to help folks work through large photo collections, including an Auto-Curate feature that automatically selects your best photos based on composition, faces, and “quality.” Like most machine-based tools, it will be hit or miss, but I found it fairly good in its execution.
  • The selection tools have been improved, making it much easier to create complex masks.
  • An ‘Open Closed Eyes’ feature can automatically copy the open eyes from one portrait and blend them  seamlessly into a second one.
  • New Guided Edit options, including background replacement, double exposure creation, and a number of additional artistic effects.
  • Additional (and improved) options in the project creation module, including more powerful slideshows, expanded print-at-home projects, and more.

Read more

A month in Mongolia with an iPad photo workflow

This summer, for some reason, a friend and I drove a tiny Fiat Panda from London to Mongolia. Though I have a 13″ MacBook Air, I decided to take my iPad with me on the trip instead of a “real” computer. I also took a good amount of photography gear, which meant that the iPad had to support a fairly full photo workflow. This article details how I made it work, and what I found I could and couldn’t do. The good news is that, if you manage your expectations, and grab the right apps, you can run an effective post-production workflow directly from your iPad.

Now Shipping: Complete Digital Photography, 7th Edition

CDP7e The seventh, and latest, edition of this site’s namesake book is now available. The newest version of Complete Digital Photography features full updating for Photoshop CS6, the latest version of Camera Raw, and new sections on composition, low light shooting, printing, and workflow. For the most part, the book maintains the organization of the last edition, with a few new sections and a few others eliminated. In addition to the included step-by-step post-production tutorials included in the book, many additional tutorials are included on the companion web pages. Order your copy now!

Experimenting With Less Contrast

In most of your image editing endeavors, you probably find yourself striving to achieve more contrast in your images. This probably leads you to crank up black points, and make sure your whites are as white as possible. There are times, though, when less contrast will give you a better image. I first covered this idea in 2005, in this article. Recently, the subject came to my attention again, as I decided that the best way to handle an image was to dramatically reduce the contrast. This time, I took a different approach to solving the problem.

Read more

Photoshop Automator Actions 5.0.3 Update

DECEMBER 2020: The Photoshop Automator Actions do not work with recent versions of macOS, and are no longer available.


The Photoshop Automator Actions v5.0.3 Updater is now available. This package updates delivers numerous bug fixes and tweaks, and adds Lion compatibility. Available for CS4 and CS5, the update is free to all users of both the free and Pro versions of the Photoshop Automator Actions Collection version 5. Updates are available here.

For this updater to work, you must have a copy of the version 5 package installed. (Obviously, you’ll need to install the updater package that matches the version that you have installed, either CS4 or CS5, free or Pro.)


All Photos Are Manipulated

Unlike film photographers, most of whom would never have considered carrying a darkroom with them, (though there are some that do) as digital shooters we expect to have a little post-production capability in the field, if for no other reason than to offload media. While I normally travel with a Macbook Air, or a netbook Hackintosh, for this trip, I decided to try to make due with only an iPad, for a few different reasons.

The whole story of what I did, and how it worked is detailed right here.